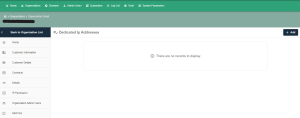
In the Dedicated IP Addresses section, you can add and list private IP addresses allocated to the domain. We can provide a high-reputation private IP to meet your high-volume sending needs and boost your email-sending reputation in addition to the existing mail service.

Our support team prepares the IP address allocation and specifies the domain name’s dealer and customer.
Adding a Dedicated IP Address
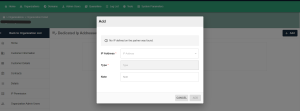
- Click the Add button.
- Select your dedicated IP address from the IP address section.
- The type section is set by the support team during activation based on the intended use.
- In the Note section, define your IP address usage (e.g., write the reverse DNS record for mail purposes).
- Click the Add button again.
- Click the Save button to finalize the process.

Defining an Email Address
To enable transmissions from the dedicated IP address, define it as the sender for email addresses.
- From the email accounts menu, click the Edit icon in the transactions column of the relevant email address.
- On the opened page, go to Send Settings > IP to Send to.
- In the IP To Send section, select the IP Address.
- Click the Save button to finalize the process.
New posts from the specified email will use the designated IP address for transmission.
Deleting a Dedicated IP Address
You can follow the steps below to delete a dedicated IP address:
- Click the Delete icon in the operations column of the IP address.
- Click the Save button to complete the operations.


